 Materials:
- 30” of fabric at least 25” wide, or 1 yard if making matching binding
- 15’ (w/rolled hem) or 16’ (w/binding) of Hoop Wire
- 8 Hoop Wire Boning Tips
- 5 ½ to 10 yards of ¾” – 1” Twill tape. Grosgrain ribbon is not recommended.
- 1-2 yards of 1” belting (Optional)
- D-Rings for waistband (Optional)
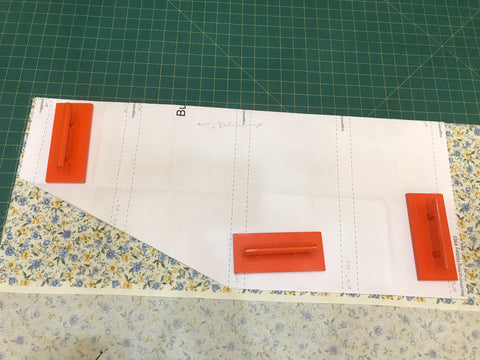
Step 1: Fold pattern down the center and place on the fold of the fabric, or unfold the fabric and place entire pattern piece on the fabric. Cut 1.
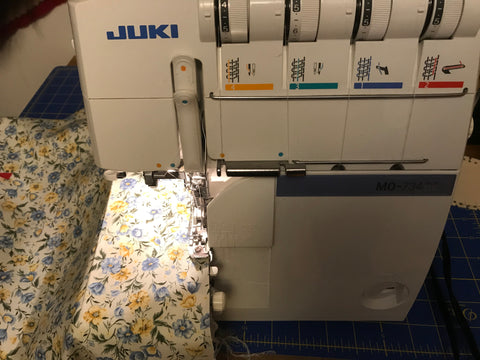
Step 2: Serge/overlock or zig zag stitch around the entire piece.
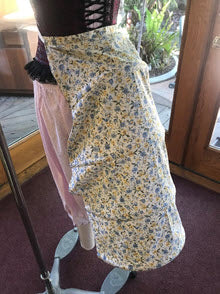
Step 3: Finish the side edges with either a rolled hem (as shown) or with binding.
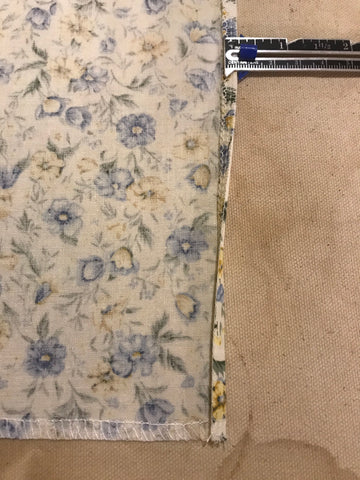
Step 4: Sew down rolled hem or binding on both sides.
Step 5: Cut three 1 ½ -yard pieces and one 1 ¼ yard piece of twill tape. Finish the cut ends by folding over ¼” twice and sew down.
Note: The pattern instructions say to cut four 2-yard pieces, but I found that was too much.

Step 6: Cut one piece of twill tape or belting equal to the waist measurement (over corset and any other undergarments) plus enough to either tie (about 24”) or for a D-Ring (about 9”) and finish the cut ends for use as tying or for D-Rings.
Note: If this bustle cage is going to be used by multiple people, you will want to add additional length to the belt to allow for a wide range of sizes. I also recommend using belting or doubling the twil tape.
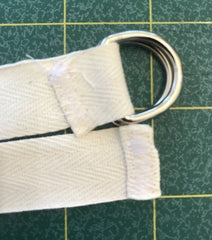 For a tutorial on making D-Ring belts or for supplies, visit Country Brook Design
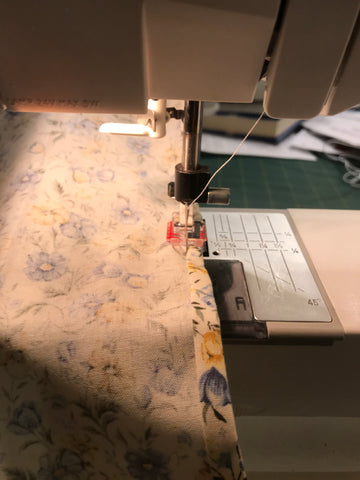
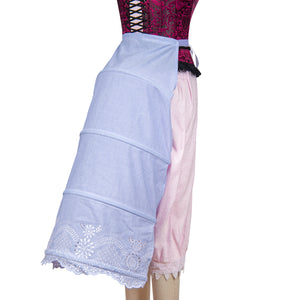
Step 7 – This tutorial demonstrates sewing the twill tape boning channels on the wrong side of the fabric. Reverse these instructions if you want the twill tape boning channels on the right side of the fabric.
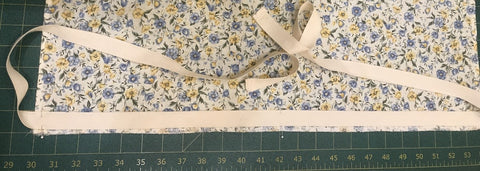
- Along the bottom edge on the right side of the fabric, align the bottom of a 1 ½ yard piece of twill tape with the top of the serging and align the center of the tape with the center of the fabric. Sew the bottom edge of the twill tape down 1/8” from the edge of the twill tape.
-
- Press the seam allowance toward the twill tape.
- Under stitch.
- Flip to the wrong side of the fabric and press.
- Sew the top edge of the twill tape down 1/8” from the edge of the twill tape to the wrong side of the fabric and sew one end closed.
Step 8 – Boning Channels
- Mark the boning channels on the fabric
- Mark the centers of each boning channel and each piece of twill tape.
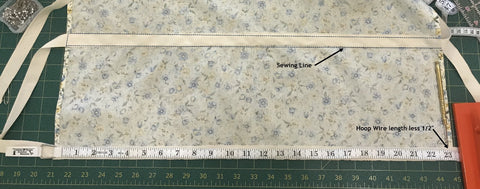
- Sew the boning channels onto the wrong side of the fabric 1/8” from the edge of the twill tape matching the center of the twill tape with the center of the fabric and sewing one end closed. The 1 1/4-yard piece of twill tape is for the shorter top boning channel.
Step 9 – Inserting the Hoop Wire boning
- Measure the length of the boning channels less ½”. Cut Hoop Wire.

- Put a boning tip on the ends of each piece of Hoop Wire. Optionally you can put glue in the boning tip first.
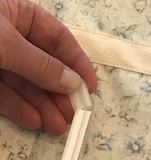
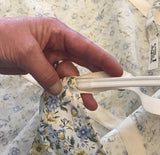
- Insert Hoop Wire with boning tips on each end into the boning channel and sew the open end closed.
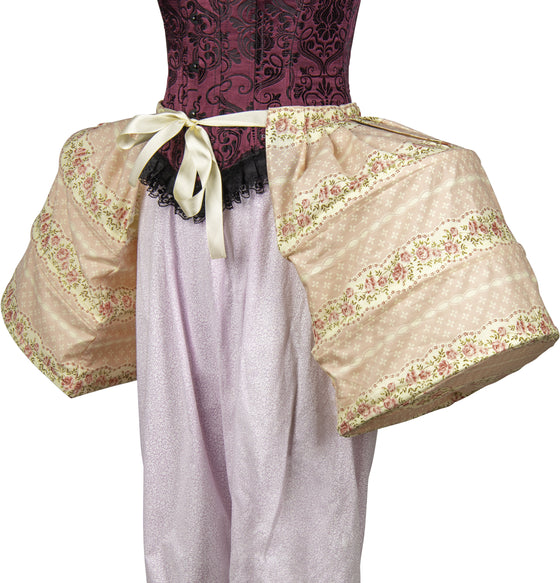
Step 10 – Finishing the bustle
- Pull the ends of the twill tape together and tie to the desired shape of the bustle cage.
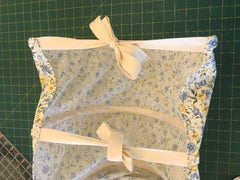
- Adjust ties as need to gain the desired shape.
All Done!
Leave a comment
Comments will be approved before showing up.
 Materials:


 For a tutorial on making D-Ring belts or for supplies, visit Country Brook Design